Table of Contents
Are you tired of plain and boring nails? Looking to add a touch of creativity and style to your manicure? Well, look no further! In this article, we will explore the fascinating world of DIY nail art and guide you through the steps of creating a mesmerizing marble effect right in the comfort of your own home.
Creating a marble effect on your nails is easier than you might think. You don’t need to be a professional nail artist or have expensive tools to achieve stunning results. All you need are a few basic supplies, some patience, and a sprinkle of creativity.
To start, gather your materials. You’ll need a selection of nail polishes in colors of your choice. For the marble effect, it’s best to choose contrasting shades that will create a beautiful and eye-catching design. You’ll also need a small container with room temperature water, a toothpick, tape or liquid latex for protecting your skin, and a topcoat to seal and protect your artwork.
Begin by applying a base coat to your nails. This helps to protect them and provides a smooth surface for the polish. Once your base coat has dried, apply a coat of the lightest color from your chosen palette. Allow it to dry completely before moving on to the next step.
Now comes the fun part! Take your second color and drop a few small drops onto the surface of the water. Repeat this step with the remaining colors, creating a colorful bullseye pattern. Using the tip of the toothpick, gently swirl the colors together to create the marble effect. Don’t overmix, as you want to maintain distinct patterns.
Next, prep your fingers by applying tape or liquid latex around your nails to prevent excess polish from getting on your skin. This makes cleanup much easier later on. Carefully dip your nail into the water, submerging it just below the surface. Use the toothpick to remove any excess polish floating on top of the water. Slowly remove your finger from the water and marvel at the beautiful marble design that has transferred onto your nail.
Repeat these steps for each nail, and remember to clean the surface of the water between dips to avoid transferring unwanted polish onto your nails.
Once all your nails are marbled, let them dry completely before applying a generous layer of topcoat. This will seal in your design and provide a
glossy finish.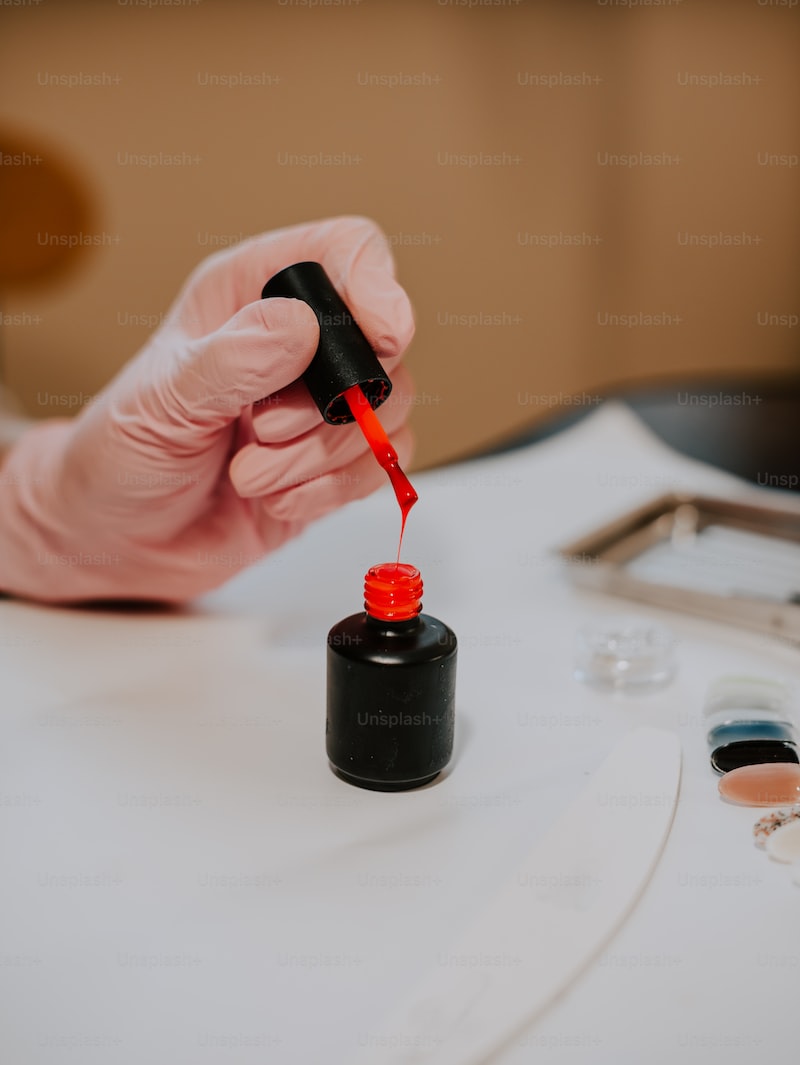
With this simple DIY technique, you can transform your nails into stunning works of art. Experiment with different colors, patterns, and techniques to create endless possibilities. So why wait? Gather your supplies, unleash your creativity, and start creating gorgeous marble nail art right at home!
From Drab to Fab: Discover the Secrets of DIY Marble Nail Art at Home
Are you tired of your nails looking drab and boring? Do you want to add a touch of elegance and sophistication to your fingertips? Look no further! In this article, we will unveil the secrets of DIY marble nail art that will transform your nails from drab to fab, all from the comfort of your own home.
Marble nail art is a trend that has taken the beauty world by storm. It’s a mesmerizing technique that mimics the natural patterns found in marble stone. The best part? You don’t have to be a professional nail artist to achieve stunning results. With a little practice and the right tools, you can create beautiful marble nail designs that will leave everyone in awe.
To get started with DIY marble nail art, you’ll need a few essentials: a base coat, different shades of nail polish, a water-filled container, toothpicks or a thin brush, and a top coat. Begin by applying a base coat to protect your nails and ensure a long-lasting manicure. Once the base coat is dry, it’s time to unleash your creativity.
Start by selecting two or three complementary nail polish colors. For a classic marble look, opt for shades like white, gray, and black. Fill the water container with room-temperature water and then drop a few drops of each nail polish color onto the surface of the water. Use a toothpick or thin brush to gently swirl the colors together, creating a marbled effect.
Now comes the fun part – dipping your nails into the water! Carefully align your fingernail with the desired area of the marbled pattern and slowly dip your nail into the water. The nail polish will adhere to your nail, creating a unique marble design. Remove any excess polish from the water with a toothpick before pulling your finger out.
Repeat this process for each nail, ensuring that your nail polish dries completely between dips. Once you’re satisfied with the marble effect on your nails, apply a top coat to seal in the design and add a glossy finish. Voila! You now have stunning marble nail art that will make heads turn.
DIY marble nail art is a fantastic way to elevate your nail game and unleash your creativity. With a few simple steps and the right tools, you can achieve gorgeous marble designs that will leave everyone amazed. So why wait? Grab your favorite nail polish colors and start experimenting with this mesmerizing technique. Get ready to go from drab to fab with DIY marble nail art!
Unlock Your Inner Artist: Step-by-Step Guide to Achieving Stunning Marble Nails on a Budget
Are you ready to unleash your inner artist and rock stunning marble nails without breaking the bank? Look no further! In this step-by-step guide, we’ll walk you through the process of achieving mesmerizing marble nails right at home. Get ready to transform your nails into mini works of art!
Step 1: Gather Your Supplies
Before diving into the creative process, make sure you have all the necessary supplies. You’ll need a base coat, two or three nail polish colors of your choice, a white polish for the marble effect, a thin brush or toothpick, a cup of water, and some tape or liquid latex for easy cleanup.
Step 2: Protect and Prep
Apply a clear base coat to protect your nails and promote longer-lasting wear. Once dry, apply tape or liquid latex around your nails to create a barrier and simplify cleanup. This way, you can focus on creating your masterpiece without worrying about any accidental messes.
Step 3: Create the Marble Effect
Now comes the fun part! Choose your desired nail polish colors and drop a few small dots of each onto the surface of the water in your cup. Use the thin brush or toothpick to gently swirl the colors together, creating a marbled pattern. Once you’re satisfied with the design, slowly dip your nail into the water, allowing the polish to adhere to your nail. Carefully lift your finger out of the water and marvel at the beautiful marble effect!
Step 4: Clean Up Excess Polish
After each nail, remove the excess polish on the water’s surface using a toothpick or cotton swab. This will ensure a clean and crisp marble effect on each nail. Don’t forget to reapply tape or liquid latex for the next nail.
Step 5: Finishing Touches
Once you’ve marbled all your nails and cleaned up any stray polish, allow them to dry completely. Apply a clear top coat to seal in the design and add a glossy finish. This will also help protect your beautiful nail art, making it last even longer.
Nail Art Revolution: How to Master the Trendy Marble Effect in the Comfort of Your Own Home
Are you tired of the same old plain nail colors and looking to add a touch of creativity to your manicure? The nail art revolution is here, and one trend that’s taking the beauty world by storm is the trendy marble effect. With its elegant and unique appearance, marble nails are a surefire way to make a statement. But how can you master this mesmerizing look in the comfort of your own home?
To achieve the perfect marble effect, you don’t need to be a professional nail artist. With a few simple steps and some basic tools, you can create stunning marble nails that will leave everyone amazed. First, gather your materials: a base coat, two or more contrasting nail polish colors, a thin brush or toothpick, and a top coat.
Start by applying a layer of base coat to protect your nails and ensure a smooth application. Once dry, choose your desired nail polish colors. Contrasting shades work best for achieving an eye-catching marble effect. Apply a few drops of each color randomly onto a palette or a piece of foil.
Now comes the fun part! Take your thin brush or toothpick and swirl the colors together gently. Don’t overmix; you want to create a marbled pattern with distinct veins of color. Once you’re satisfied with the design, carefully dip your nails into the mixture or use the brush/toothpick to apply it directly onto your nails, creating the marble effect. Repeat this step for all your nails.
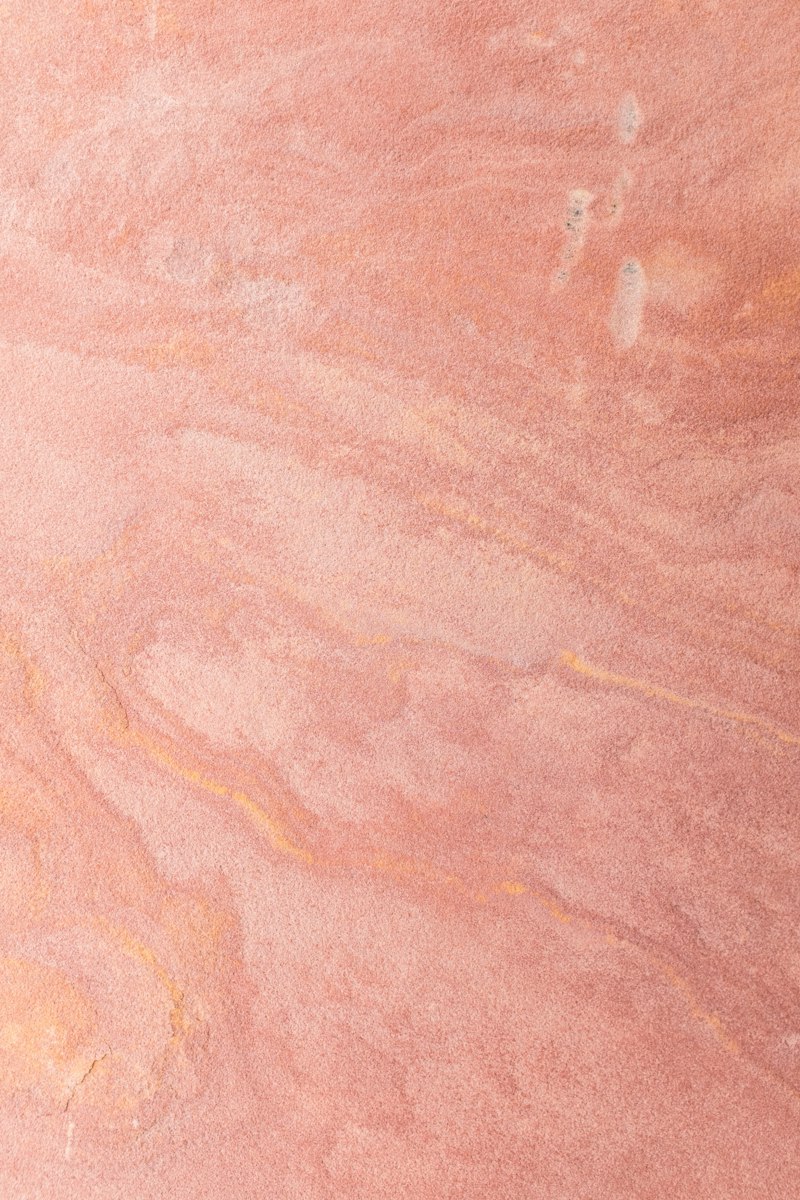
Allow the polish to dry completely before applying a top coat. The top coat not only adds a glossy finish but also helps seal and protect your stunning marble design. And there you have it—a salon-worthy marble manicure right at your fingertips!
With a little practice and experimentation, you can unleash your creativity and master the trendy marble effect. Let your nails become works of art, showcasing your unique style and personality. So why wait? Grab your favorite nail polishes and embark on a nail art revolution in the comfort of your own home. Dare to be different and let your nails make a lasting impression with the mesmerizing marble effect. Get ready to turn heads and leave everyone awestruck by your stunning DIY manicure skills!
Skip the Salon: Unleash Your Creativity with DIY Marble Nail Art Techniques
Are you tired of spending a fortune at the salon every time you want to get your nails done? Well, I’ve got some exciting news for you! You can skip the salon and unleash your creativity with DIY marble nail art techniques. Yes, that’s right – you can create stunning marble designs on your nails right at home. It’s easy, fun, and the best part is, you don’t need any fancy equipment or professional skills.
So, how does it work? Let me break it down for you. To start, gather all the supplies you’ll need: a few nail polish colors of your choice, a small plastic cup filled with room temperature water, some toothpicks or a thin brush, and a base coat and topcoat. Once you have everything ready, it’s time to dive into the mesmerizing world of marble nail art.
Begin by applying a base coat to protect your nails and ensure the longevity of your design. Once the base coat is dry, choose two or three nail polish colors that complement each other. These will be the stars of your marble creation. Now, one by one, drop a few drops of each color onto the surface of the water in the cup. The polish should spread and form concentric circles.


Here comes the fun part! Take a toothpick or a thin brush and gently swirl the colors together to create a marbled pattern. Don’t overdo it – a few gentle strokes are usually enough. Now, carefully dip your nail into the cup, making sure to submerge it completely in the water. Hold it there for a few seconds to let the polish adhere to your nail, then slowly lift it out.
Voila! You’re left with a gorgeous marble design on your nail. Repeat the process for each nail, and feel free to experiment with different color combinations and patterns. Once you’re satisfied with your marble masterpieces, apply a topcoat to seal in the design and add a glossy finish.
Now that you know the secrets of DIY marble nail art, there’s no need to rely on expensive salon visits. Unleash your creativity and enjoy the satisfaction of creating stunning nail designs right at home. So go ahead, grab your favorite nail polish colors, and let your inner artist shine!


